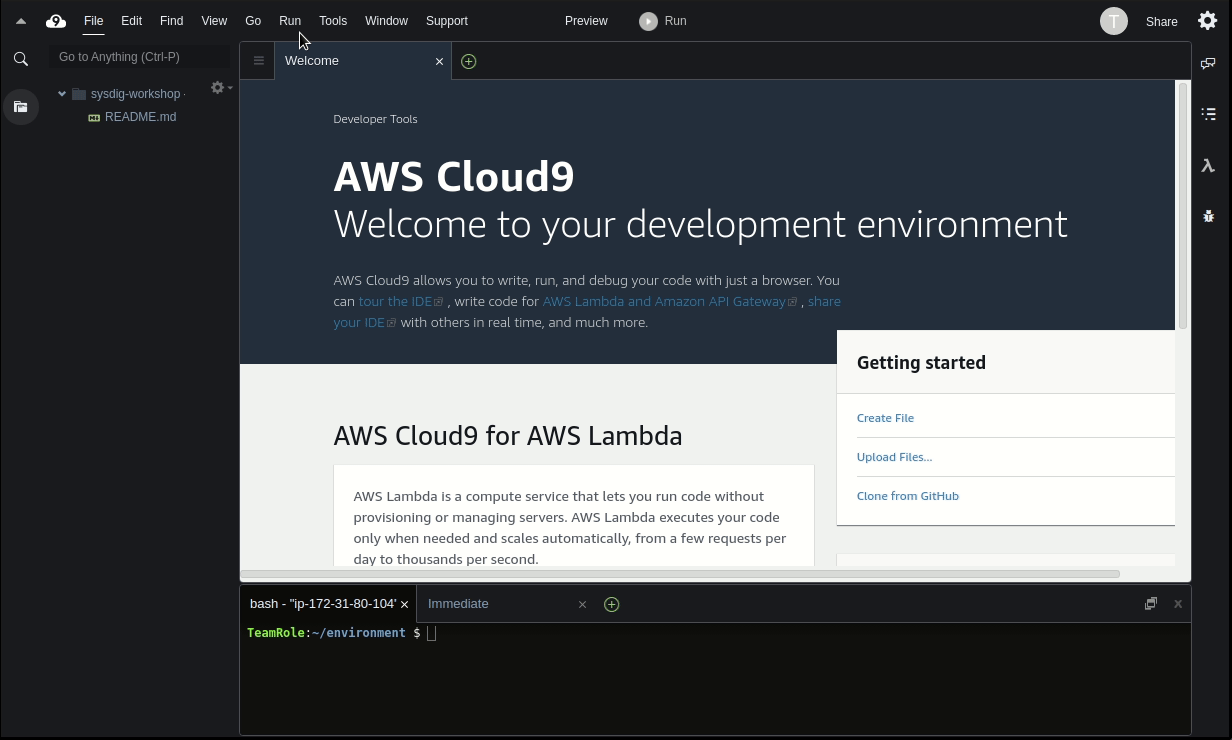
AWS Cloud9 is a cloud-based integrated development environment (IDE) that lets you write, run, and debug your code from anywhere with just a browser. It includes a code editor, debugger, and terminal. Cloud9 comes prepackaged with essential tools for popular programming languages.
You will use Amazon Cloud9 to access your AWS account via the AWS CLI in this Workshop. There are a few steps to complete to set this up:
- Create and configure a new Cloud9 IDE environment
- Configure Cloud9 IDE environment
- Create and attach an IAM role for your workspace
- Configure workshop specific requirements
Create a new Cloud9 IDE environment
To access a Cloud9 instance, networking is required. Create a VPC for the Cloud9 instance:
Follow this link to create VPC, select VPC and More and click on Create VPC to generate the networking components.
Then, to create and configure the Cloud9 instance for this workshop:
Follow this link to create the IDE. Name it
sysdig-workshop.Select the options:
- Select New EC2 instance, then Additional instance types.
- Instance type: t3.medium.
- Platform: Amazon Linux 2.
- Network settings > Connection: Secure Shell (SSH).
Expand VPC settings under Network settings and select the VPC created above and one of its subnets (select a public one). Click Create and then open the new workstation.
Wait for it to be ready. This might take up to 1-2 minutes to provision.
The Cloud9 Dashboard will be presented. Wait for your new instance to be created, then click on
Open.
Configure Cloud9 IDE environment
When the environment comes up, customize the environment by:
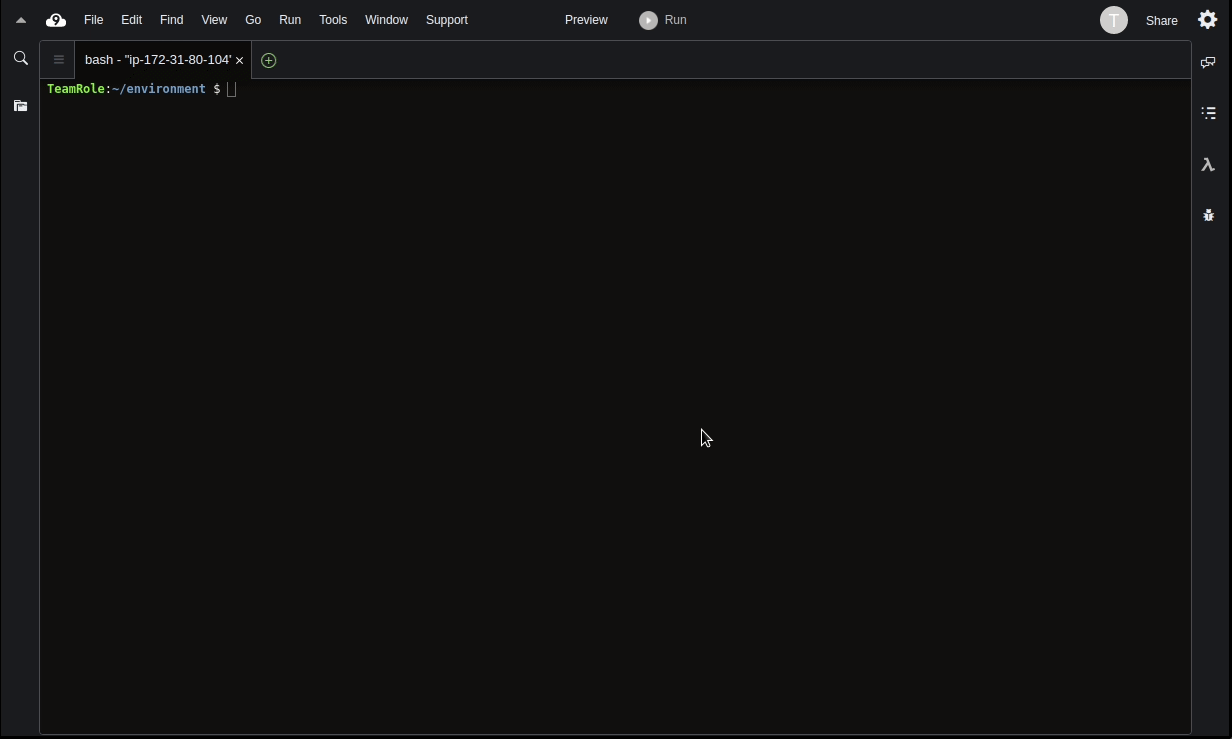
Closing the welcome page tab.
Closing the lower work area tab.
Opening a new terminal tab in the main work area.
Hiding the left hand environment explorer by clicking on the left side environment tab.
Cloud9 requires third-party-cookies. You can whitelist the specific domains. You are having issues with this, Ad blockers, javascript disablers, and tracking blockers should be disabled for the cloud9 domain, or connecting to the workspace might be impacted.
Set permissions for your workspace
Cloud9 normally manages IAM credentials dynamically. This isn’t currently compatible with the EKS IAM authentication, so we will disable it and rely on the IAM role instead.
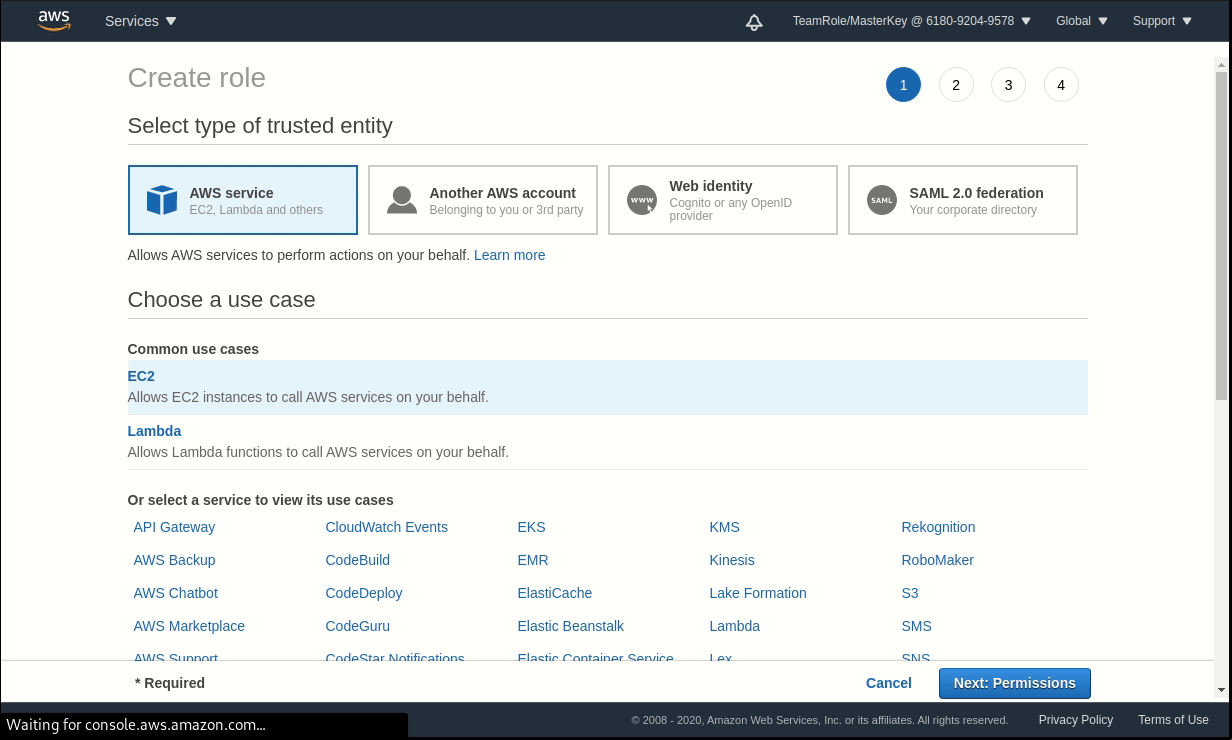
Follow the next steps to create the IAM role for the Cloud9 machine and attach the new role to it.
Click the gear icon (in top right corner), and select AWS SETTINGS. Turn off AWS managed temporary credentials and close the Preferences tab.
Create a policy for the Cloud9 machine. Follow this link, select JSON, and paste the next content in there:
 {
     "Version": "2012-10-17",
     "Statement": [
         {
             "Effect": "Allow",
             "Action": [
                 "ssm:*",
                 "logs:*",
                 "sts:*",
                 "ec2:*",
                 "eks:*",
                 "ecr:*",
                 "ses:*",
                 "s3:CreateBucket",
                 "s3:DeleteBucket",
                 "s3:PutEncryptionConfiguration"
             ],
             "Resource": "*"
         },
         {
             "Effect": "Allow",
             "Action": [
                 "iam:Get*",
                 "iam:List*",
                 "iam:CreateRole",
                 "iam:AttachRolePolicy",
                 "iam:PutRolePolicy",
                 "iam:PassRole",
                 "iam:CreateOpenIDConnectProvider",
                 "iam:TagOpenIDConnectProvider"
             ],
             "Resource": "*"
         }
     ]
 }
Then click on Next, name it
workshop-policyand click on Create Policy.Follow this deep link to create an IAM role with the policy workshop-policy.
Name the role:
Sysdig-Workshop-Admin.Confirm that AWS service and EC2 are included in Trusted entities, and your policy workshop-policy in Policies.
Then, select Create role. In the next step you’ll assign it to the machine.
Follow this deep link to find your Cloud9 EC2 instance.
Select the existing instance, then choose Actions > Security > Modify IAM role. Choose the new role Sysdig-Workshop-Admin from the drop down, and click on Update IAM role.
Workshop-specific requirements
Your workstation is ready to start the workshop.Starting from here, when you see command to be entered such as below, you will enter these commands into Cloud9 IDE or equivalent terminal of your choice.
Clone the workshop repository and get the provided files and execute the script to setup the general requirements for the workshop:
git clone https://github.com/sysdiglabs/aws-modernization-with-sysdig
cp -r ./aws-modernization-with-sysdig/static/code/* ./
rm -rf ./aws-modernization-with-sysdig
./ws_general_requirements.sh
Wait for the script to be done.
This script will check the status of the attached IAM role: if it is not valid, DO NOT PROCEED. Go back and confirm the steps on this page.
If you are going to run the Runtime Security and Actionable Compliance modules for EKS, launch a new EKS cluster with the next command.
./create_eks.shThis script will create the new EKS instance and deploy in the cluster the Falco
event-generator. This workload generates syscall activity that simulates different threats in the environment.The EKS cluster deployment in AWS will take about 10 minutes to complete. There’s no need to wait until the EKS provisioner is done. Open a new Terminal and continue from there with the workshop until the script is done.
EKS clean-up
When the workshop is completed, destroy the cluster with:
cd learn-terraform-provision-eks-cluster
terraform apply -destroy