Install Sysdig Automated ECR Scanner
AWS ECR
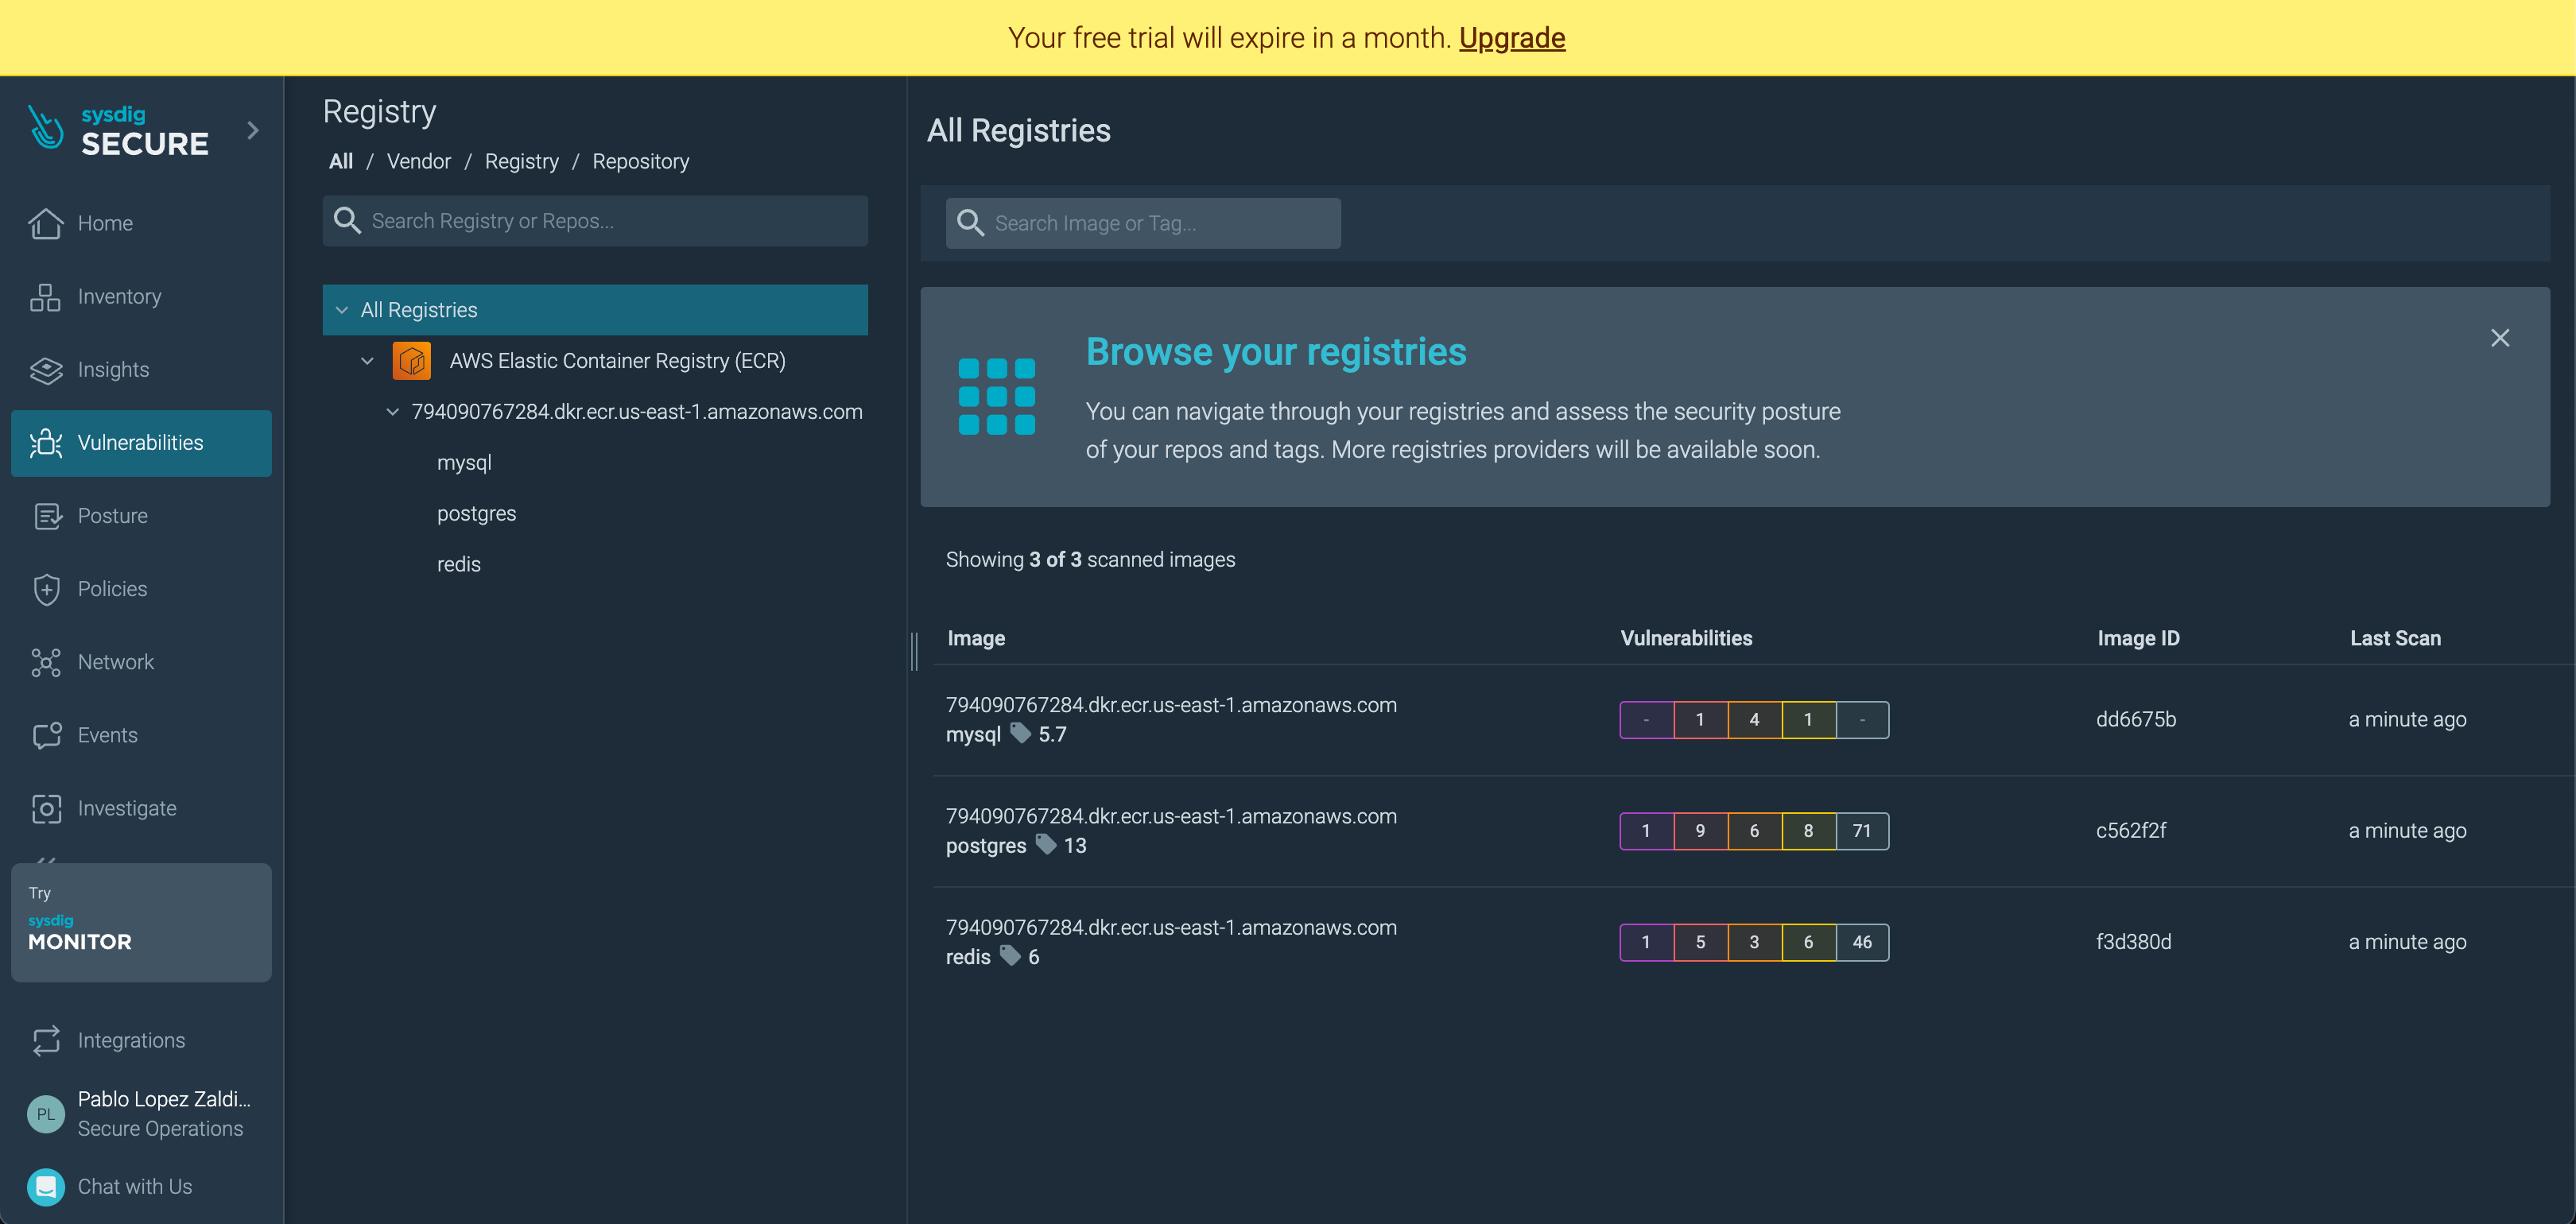
After completing the Prerequirements section of this workshop, an instance of AWS ECR named is running in your account.
It includes 3 example docker images: "mysql:5.7", "postgres:13", "redis:6.
Now you’ll learn and practice how to automate scanning of images in your registry.
Install the Sysdig Registry Scanner
Sysdig Automated Registry Scanner is delivered as a Kubernetes CronJob. It requires a Kubernetes cluster to be hosted. Once installed it will trigger a full registry scan on a regular basis (once a week by default).
Install the Scanner Cron-Job via helm chart on the EKS cluster. Please, make sure that the EKS cluster has been created and Kubectl configured as indicated in the prerequisites section. And substitute the API Token and URL with your own credentials.
helm repo add sysdig https://charts.sysdig.com
helm repo update
helm upgrade --install registry-scanner \
    --version=1 \
    --set config.secureBaseURL=<YOUR-SYSDIG-REGION-URL> \
    --set config.secureAPIToken=<YOUR-SYSDIG-TOKEN> \
    --set config.registryURL=$(aws sts get-caller-identity | jq '.Account' | xargs).dkr.ecr.us-east-1.amazonaws.com \
    --set config.registryType=ecr \
    --set config.registryUser="" \
    --set config.registryPassword="" \
    --set scanOnStart.enabled=true \
    --set config.filter.maxAgeDays=365 \
    sysdig/registry-scanner
Check that the cron-job was properly installed with:
kubectl get cronjobs
Output should looks like this example:
NAME               SCHEDULE    SUSPEND   ACTIVE   LAST SCHEDULE   AGE
registry-scanner   0 6 * * 6   False     0        <none>          2d1h
In the next section we will find out how to:
- Trigger a scan action manually.
- Review the scan results in the Sysdig Secure UI.