Threat 3: Shell intrusion
Attack scenario 3: Shell intrusion using stolen credentials

Scenario
A bad actor stole some credentials, accessed a node and explored our containers opening direct terminal shells.
Explanation
Hackers can use advanced strategies, but sometimes it is as simple as stealing credentials, which open all doors to move freely across our organization infrastructure. In this case, we will just launch a terminal shell attached to a container named “random-microservice”. It is a bad practice that our team should never do, specially in production.
Trigger
All we need to do is open a terminal shell, find the pod “random-microservice” and attach a terminal shell to it using kubectl.
Find the specific pod instance name:
user@host ~$  kubectl get po

NAME                                   READY   STATUS    RESTARTS      AGE
playground-d7dbf8bb4-h2hxw             1/1     Running   0             30h
random-microservice-6dcd67cf8d-wpg59   1/1     Running   3 (30h ago)   30h
Execute a terminal shell against the pod:
kubectl exec -t -i random-microservice-6dcd67cf8d-wpg59 -- /bin/sh

#
We are now inside the pod and can run commands. A bad actor would probably create a file, let’s do the same thing and exit.
touch /opt/mybadstuff
exit
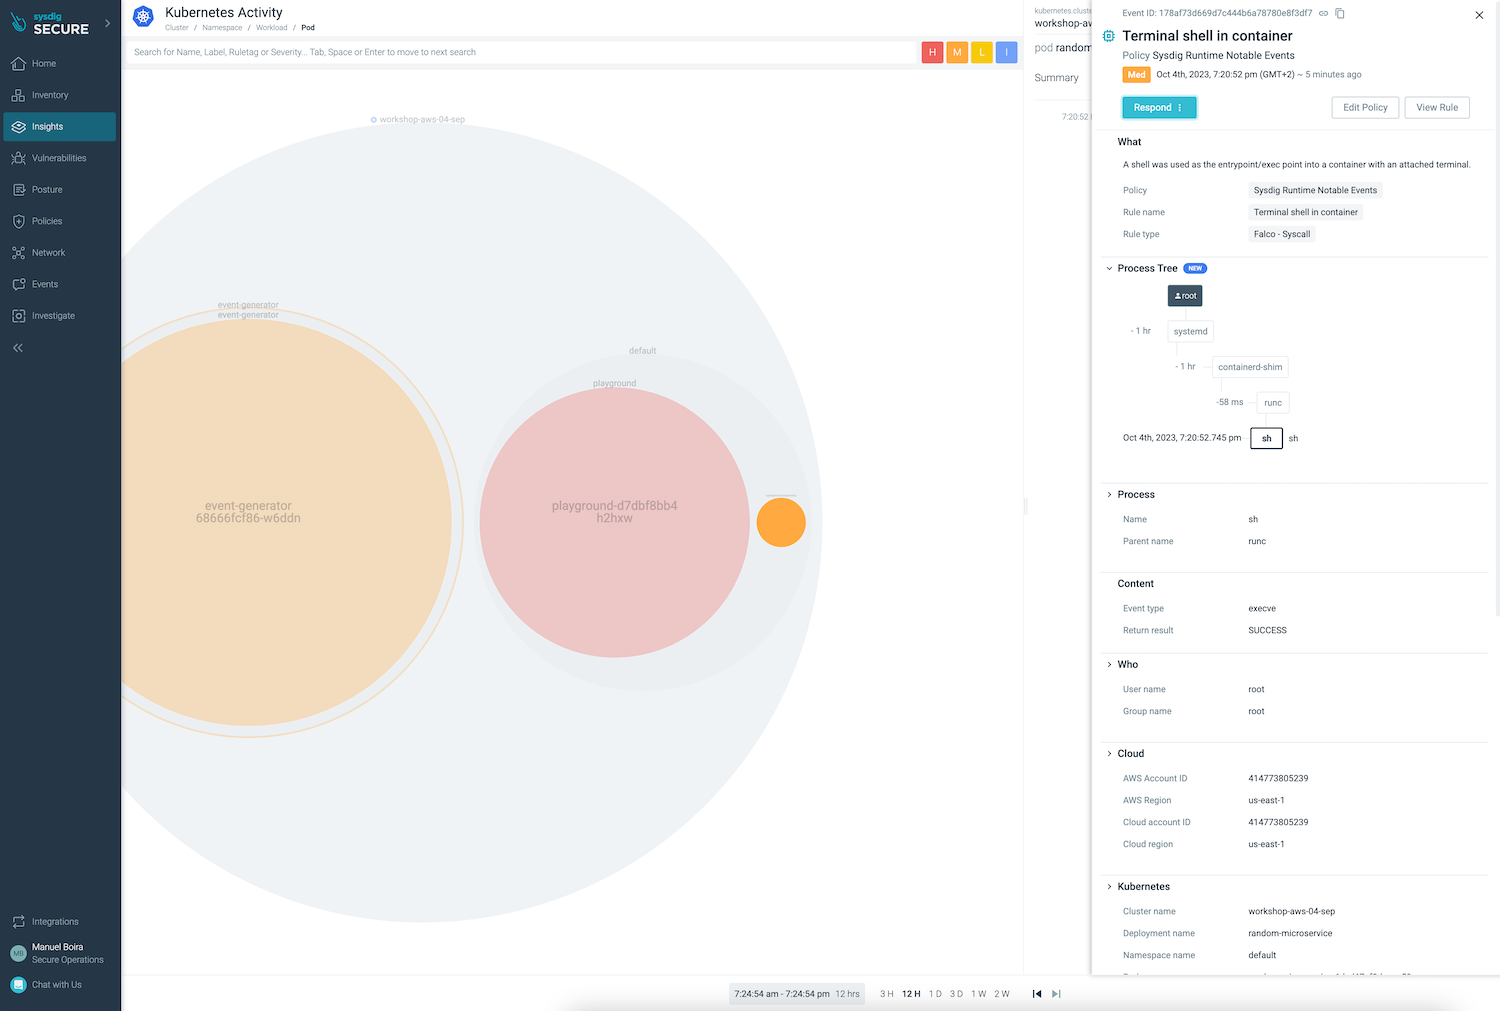
Let’s switch to Sysdig UI Insights > Kubernetes Activity. There is a new bubble from the random-microservice.
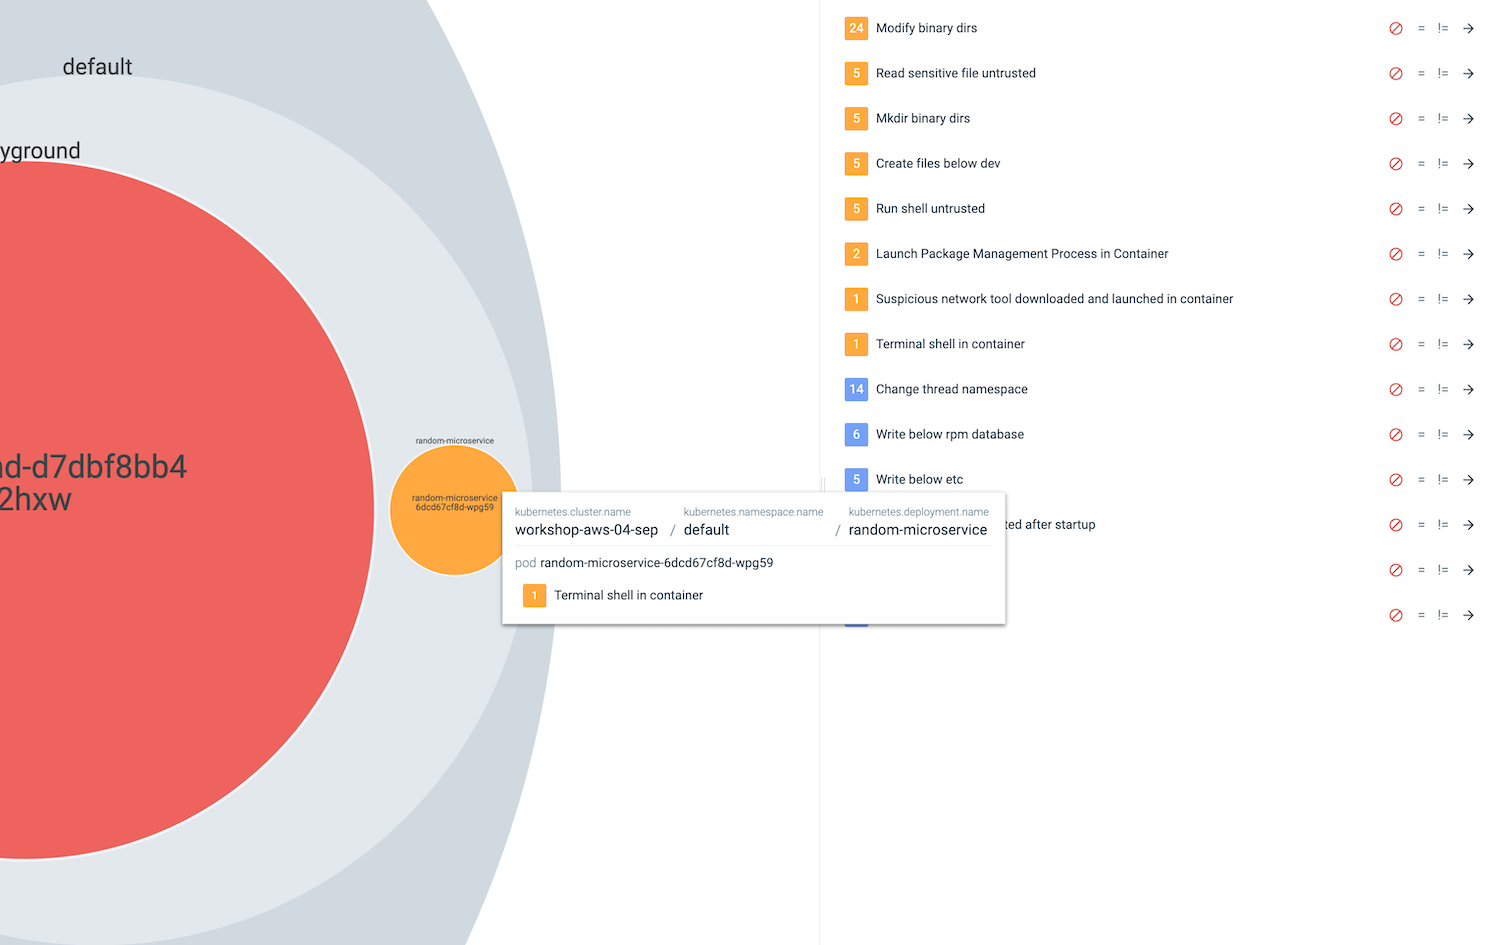
Click on the related events form the right side to see more details.
Now that we know what threatening events looks like, in the next chapter we will learn how to configure response automation.